
Getting to grips with the condition of the soil on a golf course is no simple task. Golf courses are vast. They cover huge areas of ground. It means you will encounter various types of soil and environmental conditions.
Certain areas of the course will be open and exposed to the elements. Other sections of the course might be heavily shaded by trees. Soil type can differ from heavy clay to sandy loams, with a mixture of chalk and clay – even on the same fairway.
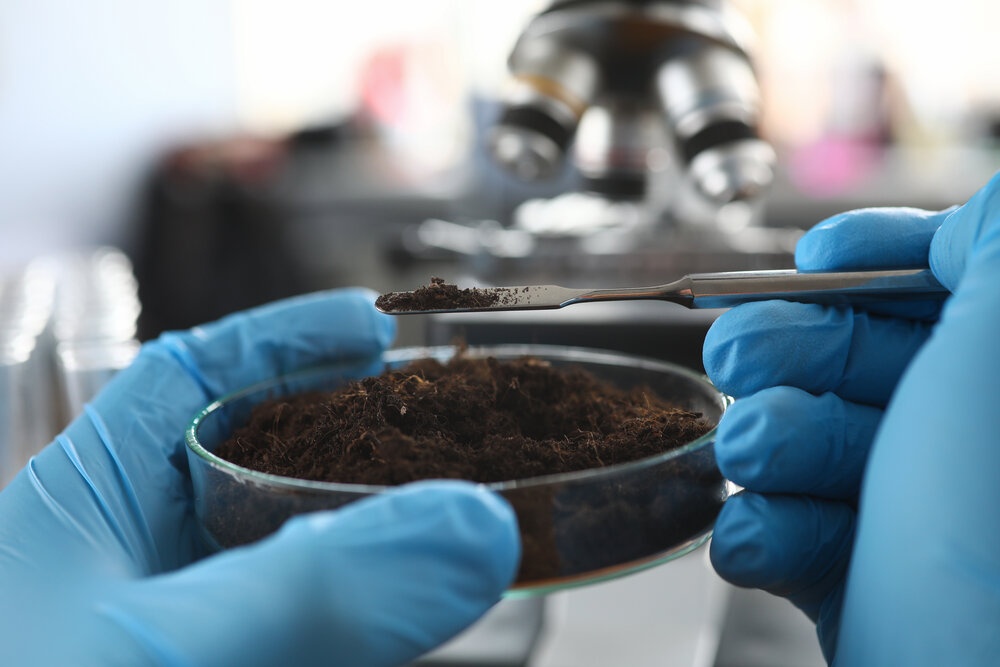
All of these things create huge challenges for the golf course management team. Having a soil biology agronomist or someone fully conversant with soil biology and how to sample the soil, and what to do next is key.
It doesn't matter whether you are sampling your golf course soil to establish recommendations for fertilisers or diagnosing it for other specific problems - taking soil samples correctly is essential. In this blog, we explain how to do just that.
Using a Composite Sampling Routine
The correct sampling procedure will change depending on two things:
- What materials is being tested
- From where the sample is being taken
To make certain that the sample you take is most representative, you should employ a composite sampling technique. This means taking samples from several locations within the target area. You then combine the various samples to create one composite sample.
As an example, a golf-green should be divided up into several subunits, depending on topographical or directional features. Suppose that there is a concern relating to the entire green. You should split it into between four to eight sub-areas.

You should then take a soil sample from each area. Collect the sample using a cup cutter, small shovel, or soil probe, and combine them into a plastic bucket. Thoroughly mix the various soil samples together to create one composite sample.
If sampling a larger area – a fairway, for example – you should divide it into different sampling units dependent on things like use, soil colour, topography, vegetation, and any other discerning visual differences.
Smaller areas that are not uniform – things like eroded, rocky, or wet areas, should be sampled separately.
Drying Soil Samples
It's important to dry your soil samples before sending them off to the lab for analysis. To do this, spread the soil over a clean, dry and warm area and leave it for two to three days to dry. Don't be tempted to try and speed up the process by heating in an oven. It can cause chemical changes in the soil.
If for any reason, you can't dry the samples straight away, they can be stored in a fridge for several days.
Pretesting Stockpiled Material
If you will be stockpiling materials such as bunker or top-dress sand, it's a good idea to have it tested before it's delivered to the site. This, too, should be tested using composite sample testing. Instruct the supplier to collect samples from a minimum of eight different locations.
These locations should be not only from all around the stockpile but also from top to bottom. Ensure that at least 50% of them are taken from the bottom third layer of the pile.
Collecting Grass Tissue Samples
Grass tissue samples are normally taken from mower clippings. Make sure that you leave it for at least two weeks after top dressing before collecting samples. This is to avoid the problem of cross-contamination. Pick your samples from turf, which is actively growing.
If the pattern of growth across the area is different – patches of lighter green or yellow – separate the abnormal samples from the normal.
It’s important to allow the samples to dry overnight. This makes sure there is no excess moisture in the samples before you pack them. They should then be shipped off to the lab for analysis as quickly as possible.
Ensure Correct Labelling
Labelling is important. Once you've finished labelling, list the labelled samples in a soil/grass sample record log. Record the correct date the samples were taken. The record should also include:
- The location from which the samples were taken
- The depth at which the samples were removed
- A map of the location from which the samples were taken
When writing out the labels for the samples, be sure to use permanent ink. Once written, stick the labels firmly to the outside of the containers making sure the right labels are on the right containers. Containers can be bottles, containers, or sample bags.
Using the Right Submission Form
Each test lab has its own submission form requirements. It’s best to contact the lab in advance to obtain copies of the right (blank) forms and labels for shipping. The more your order complies with the lab’s requirements, the easier and more smoothly the analysis.
If you have any specific needs, requirements, or concerns, make them known prior to sending the samples. Keeping in regular touch with the lab before, during and after testing will help to keep you updated.
By carrying out the soil and tissue sample collections as recommended above and selecting the right soil testing agency – one that is familiar with the needs and requirements of golf courses, you can expect accurate test results.
Any information or recommendation provided by the test lab should be taken into consideration, and along with your own professional knowledge and judgment, the right action should be taken.
What You Can Expect from the Lab
Once the lab you have chosen completes the analysis, they should supply you with an explanatory note of the test results. They will normally also make any necessary or appropriate recommendations for remedying any faults.
Further Reading
If you are new to golf course management and greenkeeping and you are looking for useful supplemental information, you may find the Fine Golf website a useful source of ideas and information, and, in the context of this blog, particularly their article on soil biology.
For more information, we also suggest this article on “Soil sampling and analysis (Research)” on the Golfcourseindustry.com website.