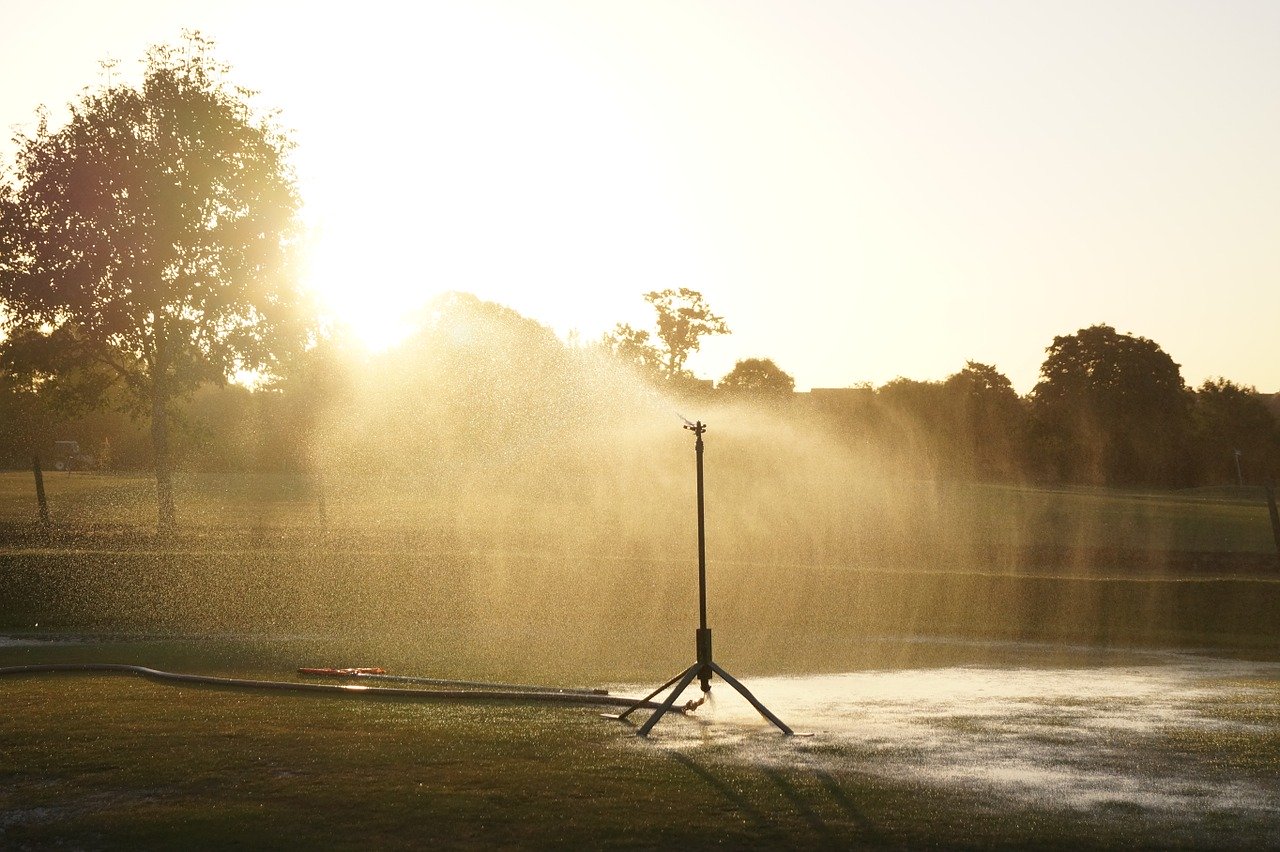
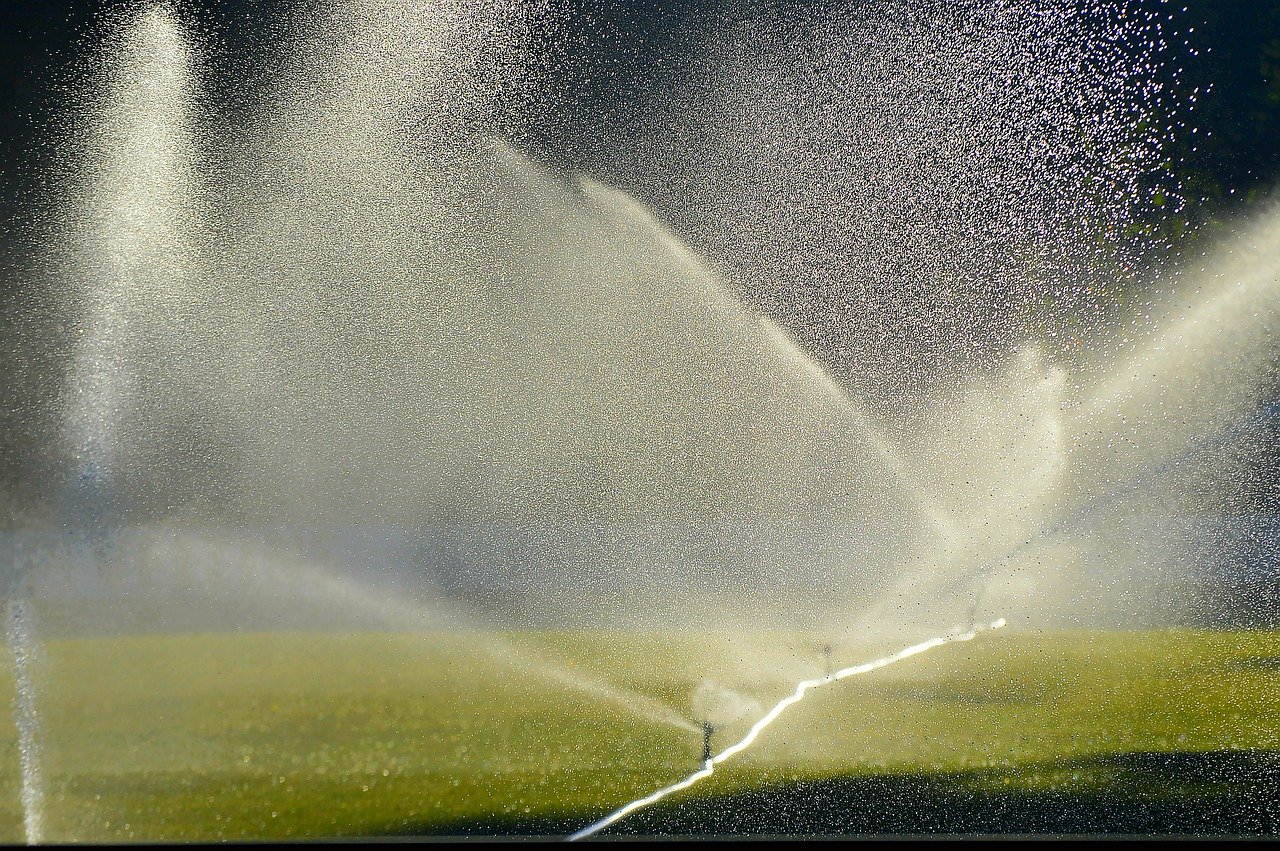
Most irrigation controllers are programmed in minutes per station. The person in charge of irrigation is usually very busy with other jobs, so 10 minutes per golf Green is the default. Using this rule, it is very likely that the ground is being over-watered to some extent. Under watering on the other hand shows up very quickly as stressed plants, while over-watering just sends water down below the root zone, which is thus wasted.
This technical note makes some suggestions on how to avoid over-watering.
The trouble with minutes on the controller is there is no indication of how much water is actually being applied. There are two ways of finding out.
- Measure each station’s watered area. Inspect the sprinkler types and nozzle sizes. Look up the manufacturer’s data and estimate the total flow per hour. Divide the flow by the area and you have the precipitation rate, usually specified in mm per hour.
- Buy some catch cans1, place them in the station's irrigated area. Run the controller for a known number of minutes. Collect the cans, measure how much water has been collected in each. The average amount of water, divided by the watering time in hours (minutes/60) gives the precipitation rate (mm/hour). You may need to run the test several times with the cans in different positions until you have covered all the irrigated area.
This second method has the advantage of giving you an indication of how uniformly the water is applied over the station’s area. Please see the appendix on how to calculate this2.
You can then produce a little table, one for each station, of minutes applied versus mm of water. Our RM-2 and the TW-3 have a place in each station's data to enter this value. Thus, you may then know that for example, 10 minutes on Green 6 is 4mm while the same time on Green 13 is 7mm.
The next challenge is how much water to put on every 24 hours. You no doubt have come across Evapotranspiration or ET as everyone calls it. This is a measure, usually in mm, of how much water the plants have lost in 24 hours due to evaporation and transpiration. The object of irrigation is to replace that which is lost, but no more.
The USA has a network of weather stations (expensive apparatus), from which the daily ET figure can be downloaded for your area. Allowing for your knowledge of micro-climate, this is a good indication of what needs replacing. Other regions of the world, have no such network, so it’s buy your own weather station for many £100’s or even £1000’s or do the following:
- Get a plastic 1 litre measuring jug. The best sort has a flat bottom with cylindrical sides. P
- ut it on a backless bar or kitchen stool, somewhere in the sun, where it is unlikely to be tampered with.
- Make sure it does not wobble.
- Fill it to within 30mm of the top with water.
- Each day dip it with a mm rule and measure the change in level (2-5mm after a hot day).
- If the level changes a lot over the days, empty/refill it back to around 30mm from the top.
Believe it or not, this simple device will give you a good indication of the ET loss of turfgrass per day in a sunny spot and of course any gain from rain. This has been tested by two American universities. Use this figure and your tables to alter the number of minutes run time for each station. If you have had a gain from rain, you can skip the number of mm that has been applied by the clouds!
Of course, altering the number of minutes on many stations is time-consuming, but it may be as simple as skipping some nights of watering. But you will at least know then how many skips to do. Some of the better controllers including the RM-2 and TW-3 have a Water Budget which alters all the stations by a %. This saves loads of fiddling.
Alternatively, feeding this one ET figure into an RM-2 which is programmed in Water Balance irrigation mode will allow it to work out the watering times itself.
You will probably save 25% on your water and electric pumping bills by doing this.

