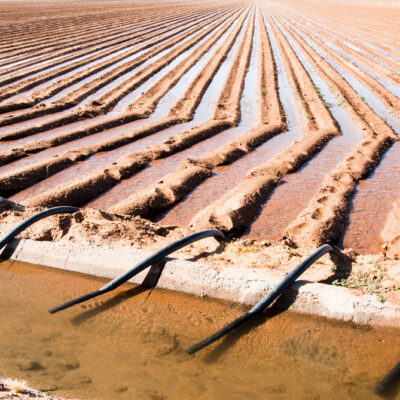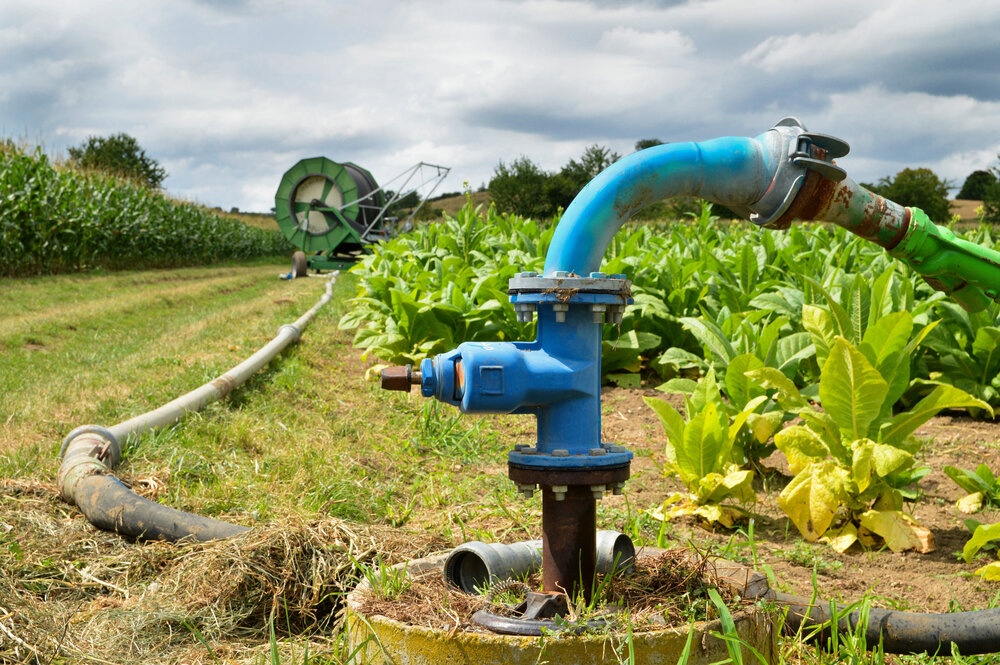
One of the best ways of ensuring the growth of healthy plants and vegetables is to ensure you use an appropriate irrigation method. Whether you are a home gardener or farmer, one of the most common ways of irrigating plants and crops is with the use of an irrigation pump.
There are several different types of irrigation pumps, each of which is designed for a different purpose. The pumps most commonly used fall into one of two brackets – centrifugal and displacement.
Displacement Pumps
Displacement pumps are usually used for moving particularly thick liquids and they produce very precise flow volumes, or high pressures. They are mainly used in conjunction with air compressors, hydraulic machinery systems, oil wells and spray pumps. They are not usually used for water irrigation.
Centrifugal pumps
The majority of irrigation pumps are centrifugal. It means that they use centrifugal force which spins the water rapidly within the pump’s casing, chamber or housing. This force drives the water through the pump to where the casing guides it to the outlet valve.
Some centrifugal pumps are multistage. Multi-staging refers to having more than one impeller and casing. With this type of pump, each time the water is passed from one impeller to another, it increases the water pressure.
The majority of centrifugal pumps have what is known as a “wet inlet.” It means that water must be present both in the inlet pipe and the casing each time the pump is started. These pumps don’t find it easy to suck water up into the intake pipe if it is already full of air.
In essence, to prime the pump, you must fill the intake pipe with water before, then immediately activate the pump
Typically, centrifugal pumps are created so that they trap the water in the intake pipe once they have been initially primed. In other words, they maintain their prime status between uses.
You can get self-priming centrifugal pumps which are designed to start without having to be primed. You often find that portable pumps are of this type. If your pump is not self-priming, the simple guide shown below shows you the steps to follow.
Priming a Centrifugal Irrigation Pump
Most lawn pumps are centrifugal, so if you are a home gardener and you have a non-self-priming pump, it will need priming.
A correctly primed irrigation pump should work efficiently and effortlessly, sprinkling water in a uniform manner. If your pump is of the non-self-priming variety, you need to prime it for the following reasons:
- To be 100% sure there is no water bubble, because if there is, water may not floe, or it might lead to reduced water pressure.
- Priming the pump properly will assist efficient working.
- To prevent the pump having difficulty when taking up water from its source
- To prevent pump damage, including the burning out of the motor
At the beginning of the Season
The actual priming procedure for centrifugal pumps is simple and, when done correctly, will improve its functionality.
Like most people, you've probably drained your pump to avoid the water in it freezing during the winter months, which means that the chances are that it has run out of pressure.
At the beginning of the new season, and in order to get it working again, the pump will need to be primed. This involves flushing water back into the pump and forcing it through so that it creates the pressure necessary to begin pumping once more.
The following process we outline is a quick guide to walk you through the procedure, which on average takes more than about 10 minutes to complete
Step by Step Guide to Priming your Irrigation Pump
Step 1 – Safety First
Whenever carrying out any work on your irrigation pump, or any electrical tool for that matter, make sure that it is not plugged into the mains.
Step 2 - Gaining Access to the Pump System
To enable you to gain access to the pump system, you need to find the right sized spanner to fit the valve. Th valve you are looking for is usually the one closest to the water pump, but if you're talking about a swimming pool pump, it could be the strainer basket.
Step 3 - Ensuring the Pump Is Not Damaged
You need to carry out a thorough inspection of the pump to ensure it is not damaged. Pay particular attention to the pipes to make sure they haven’t cracked during cold spells. This is even more important if the pump has been shut down over the winter months.
Check to see if the drain plugs need retightening.
The best way of checking the valves is to operate them manually. Double-check that all other fixtures and fittings (nuts and bolts) are fixed firmly in position. Also, inspect the belts, pulleys and safety guard.
Step 4 - Hose test
Before connecting the hose, ensure it is unblocked and clean by flushing it through with clean water.
Step 5 - Opening the Relief Valves
In order to stop pressure from building up, you should open the relief valves. It’s also a good idea to keep your eye on the pressure gauge too.
Step 6 - Attaching the Hose
Connect the pump to the water source
Step 7 - Turn the Water On
Turn the water on and wait for it to fill the pump’s tank. You should be able to hear it doing so. Double-check by keeping an eye on the water pressure gauge to ensure its rising.
Step 8 – Turn the Power Back On
Turn the power back on, start the pump and allow it to run for approximately one minute.
Wait for the water to start running from the opened relief valve - then close it. The pump should turn off automatically once it’s fully primed. If it doesn’t, there may still be air in the system, and you will need to repeat the process as many times as necessary.
As you can see, the priming process is pretty straightforward. However, if you’re tired of doing it year on year, you can always treat yourself to a self-priming pump.