Having low pressure in your garden hose can make watering a time-consuming and even frustrating prospect. If you can improve that pressure, you can bring the joy back into watering your garden. It will mean that you can water at greater distances and more effectively. It’s better for both you and your garden.
Thankfully, increasing the pressure in your garden hose is not particularly difficult, as you’ll discover when you continue to read. Often this problem generates from the hose itself. It can also be a problem with the spigot or, of course, the water pressure in your home in general.
Whatever the problem is, hopefully, you’ll find it discussed within the confines of this article, together with instructions on how to put it right.
Making Sure your Garden Hose is not Kinked or Twisted
Very often, a low pressure problem is down to the hose being kinked or twisted. Experienced gardeners will, of course, know this, but if you're a newbie, it can easily catch you out. Walk the length of the hose, looking for any kink or twist culprits. If you find any, straighten them out, and you should be good to go.
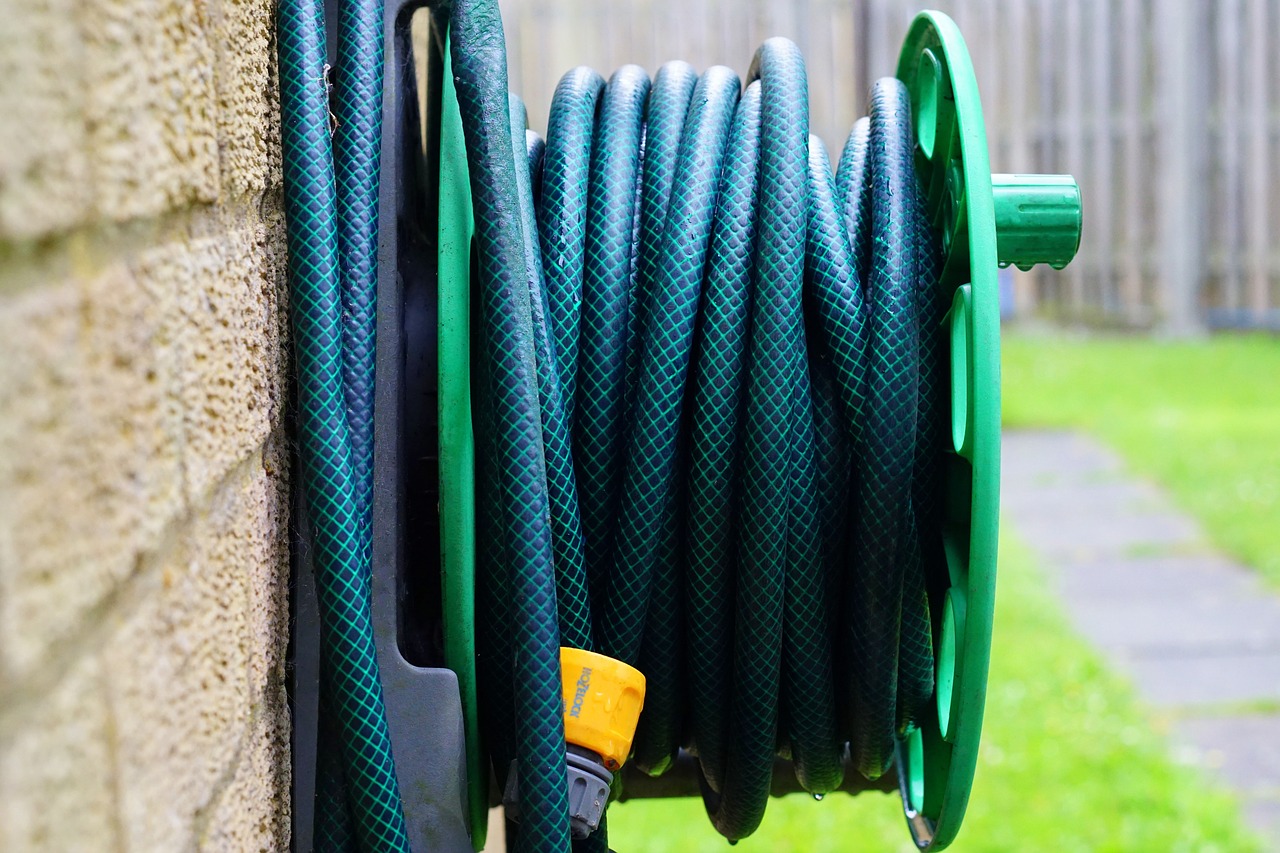
Don’t forget to unwind the hose if it’s on a hose reel. It’s very easy for kinks or twists to occur when the hose is wound back onto the reel, and the problem could easily lie hidden beneath the outer layers. So don’t forget to unreel it and check the entire length of the hose.
Check for Blockages
Another common problem that leads to a loss of pressure in your garden hose is an accumulation of dirt inside the hose, and of course, it’s not something you can see. The best way of dealing with this is to add some bleach or vinegar. The tools you will need for this operation are:
- A Pair of Rubber Gloves (recommended)
- A Bucket
- Some Bleach - use a natural bleach if possible to avoid toxic chemicals
- Measuring jug
- Some mild dish-washing detergent to clean the nozzle.
- A Sponge
- An old toothbrush
You will find a comprehensive guide to this method of cleaning on the Igra-World.com website.
Checking for Leaks
Leaks, of course, are the most common reasons for having low pressure in your garden hose. The best way to look for leaks is to position the hose flat on the ground, turn the water on, and slowly walk the length of the hose, carefully checking to see if you can detect any leaks. The smaller the leak, the less detectable, so you may need to get down to ground level.
If you spot any small leaks, there are several ways you can go about trying to repair them. The first way is to dry the area where the hole is and then apply some rubber cement on and around the hole. Don’t overdo it. If you push too much cement through into the inside of the hose, it could clog it up and create further problems.
Another way is to use a bicycle tyre puncture repair kit which you can get from places like Halfords. Just follow the instructions you’ll find inside the tin.
The final quick fix option is to use some waterproof self-amalgamating tape which you can buy from your local Tool Station or DIY supermarket. Again, dry the area first, then wrap the tape around it to create a watertight seal.
Dealing with Bigger Holes or Splits in the Hose
If you discover a larger hole or split in the hose, you will need another solution, and that is to fix it with a hose repair connector. Begin by marking the affected area with some tape to make it easier to find the hole or split once you turn the water off. Having done so, take a sharp knife and cut the hole on either side of the problem area, making sure that the cuts are nice and straight.
Take the two components of the connector and attach each to one of the hose sections. Push the two connecting components firmly together. Hopefully, it will be job done.
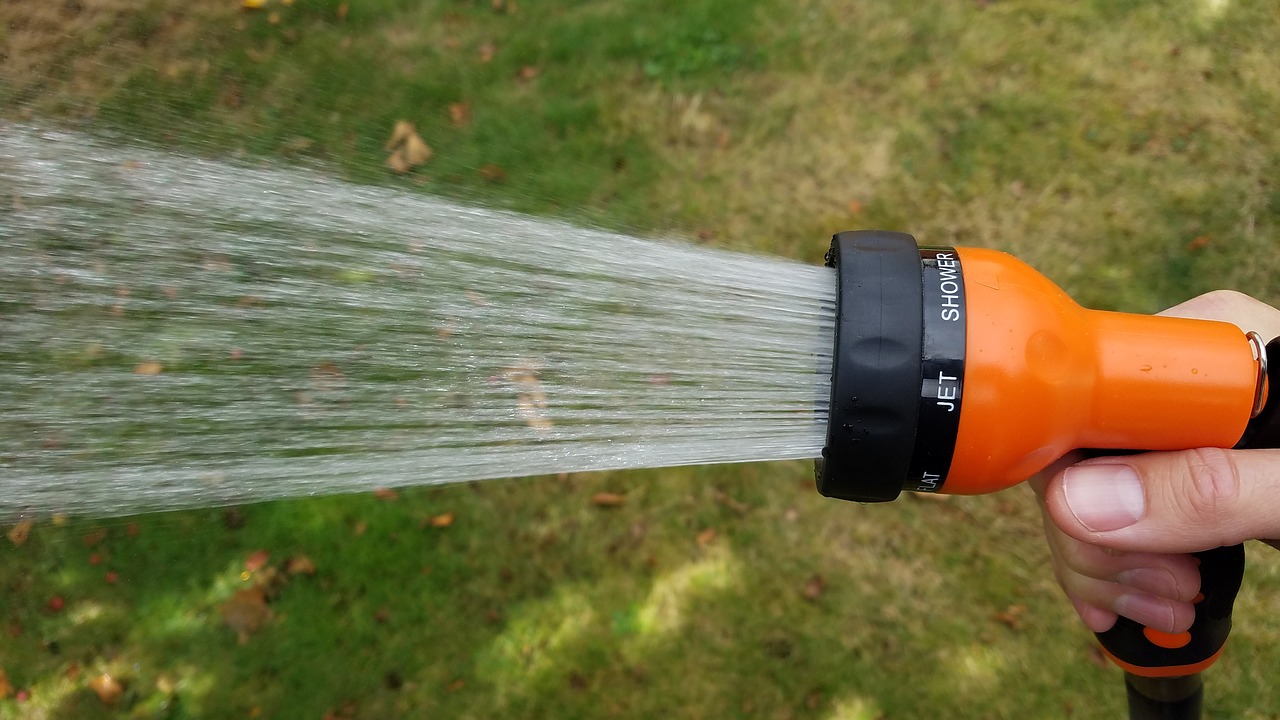
Check the Connection to the Spigot, Nozzle and Tap
If you find that the problem is where the hose connects to the tap, it could well be that the hose connection isn’t tight enough. To check and fix, having turned the water off, dry the connector with a cloth to give you more grip, and push tightly back into position. You can also smear some petroleum jelly on the threads, which will also help deal with any escaping water problems.
If the leak is still there, it could be that the O-rings inside the fittings have become cracked or perished. If this is the case, replace the O-ring or buy a new fitting. This applies to both ends of the hose, i.e. where it joins the tap, nozzle or spray gun.
Low Pressure Mains Supply
The problem could be with your mains water supply. The statutory service standards for the water supply industry specify that mains water pressure should be 10 metres/head or one bar. This translates to having enough pressure to push the water to a height of 10 metres.
A common mistake that can lead to low water pressure is not fully opening the mains water valve. You can easily check this by locating the valve, which can usually be found under your kitchen sink. Close and open it fully and see if that fixes the problem.
The other thing you can try is locating your water pressure regulator. You may be able to adjust it to increase the flow of water. This regulator is often found in the same area as your mains stopcock. You can check it to see what the PSI rating is and whether there’s the facility to alter it. In most instances, this will require the services of a qualified plumber.
If you still have a problem, it could mean that you need to buy and install a water pump or a rainfall harvesting system.